3 Pokémon Binder Layout Ideas
Try evolution rows, a color transition or a page built around a favorite card.
Start with one nine-pocket page
A single page is a useful place to try a style before applying it to an entire binder. Pick nine cards you want to look at together, or leave a few spaces for cards you are still collecting. Choose one of the ideas below and preview it in OnlineBinder. Use the single-page view to judge the arrangement, then open a two-page spread to see how it fits next to another page. The same cards can look different when the order changes.
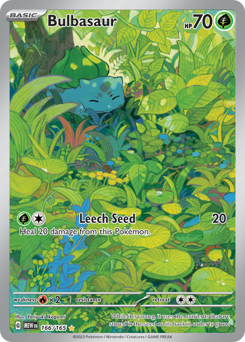
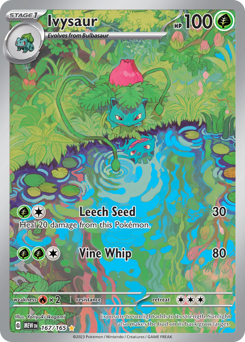
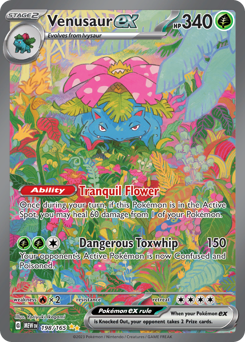
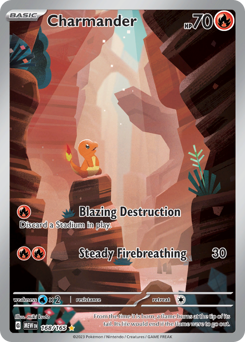
Layout one — evolution lines across the rows
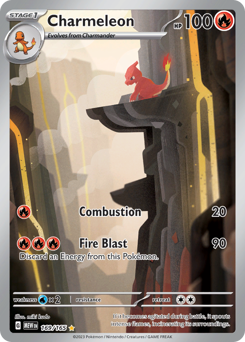
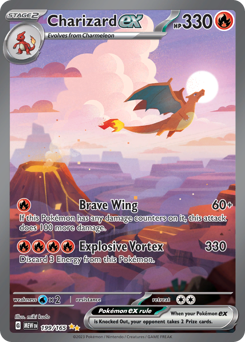
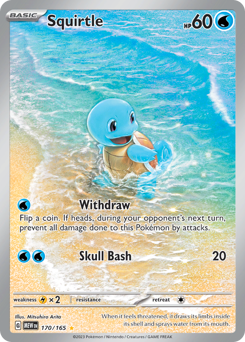
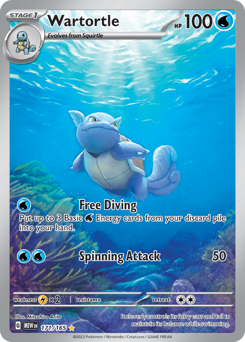
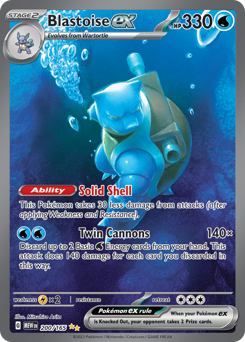
Place the earliest evolution on the left, the middle form in the center and the final form on the right. A first row might hold Bulbasaur, Ivysaur and Venusaur. The other two rows could follow Charmander and Squirtle through their evolutions. Cards from different expansions work together if you want to show how their artwork has changed. For a line with two stages, use the third pocket for an alternate artwork or keep it open. The row can still read from left to right without filling every space.
Layout two — group the artwork by color
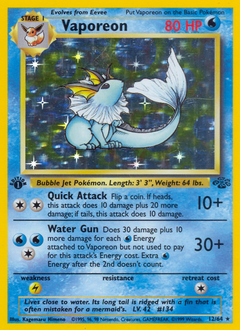
Start by looking at the artwork instead of the Pokémon type or the card border. Choose two or three dominant colors and arrange the cards from lighter tones to deeper ones. For example, a row can move from a pale blue sky through teal water to a dark blue night scene. Include one card with colors from the rows above and below to make the transition smoother. In a two-page spread, place similar colors near the middle so the artwork feels connected across the binder spine.
GreenGreen to blueBlueLayout three — place one card in the center
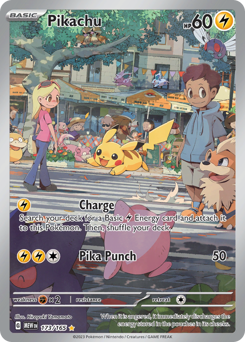
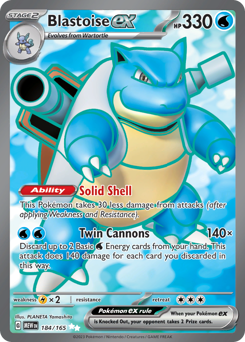
Pick a centerpiece you want people to notice. In a 3 × 3 grid, put it in the fifth pocket and use the four closest pockets for cards with a visible connection. You could surround an illustration rare with cards by the same artist, related Pokémon or scenes that share a setting. The corner pockets can hold quieter illustrations to frame the middle. Try exchanging the two brightest supporting cards for less busy ones and compare the result. The best centerpiece is often the card you most enjoy seeing each time you open the binder.
Adapt the idea to the cards you have
When a card is missing, keep a pocket open or place the desired printing digitally and mark it Wanted. If you prefer a larger binder, use the 4 × 4 grid to make a small square of related cards in the middle and arrange the rest around it. In a 2 × 2 binder, focus on a pair of connected cards and use the remaining two pockets to echo their colors or subject. Save the version you like and check the sleeves and pockets before transferring the physical cards.
Owned Wanted Owned Decide what you want the next page to do
Once the first page works, carry one feature over to the next one. Repeat an artwork color, use another evolution line or pick a second centerpiece with a quieter background. Keep a few pockets in reserve if you expect the theme to grow.

Keep planning your collection
Read the Pokémon Card Binder Guide · See how to protect your cards · Explore binder templates